Sunday, July 27, 2014

Just Having a Ball!

It has been a blast working with the GraphicStock images.  I have a friend helping me with some puns and I'm creating fun little cards with GS images and silly puns!

 
Puns may indeed be the lowest form of comedy, but they are funny!  This one has an inside verse "It may be a pain in the neck to be another year older, but it's awesome having you around!"  I just love this giraffe - he's so cute!

Inside Verse:  Hope you have as much fun as a barrel of monkeys!  I think the HUGE feet make this card really funny.

And did you expect "Party 'til the cows come home"?

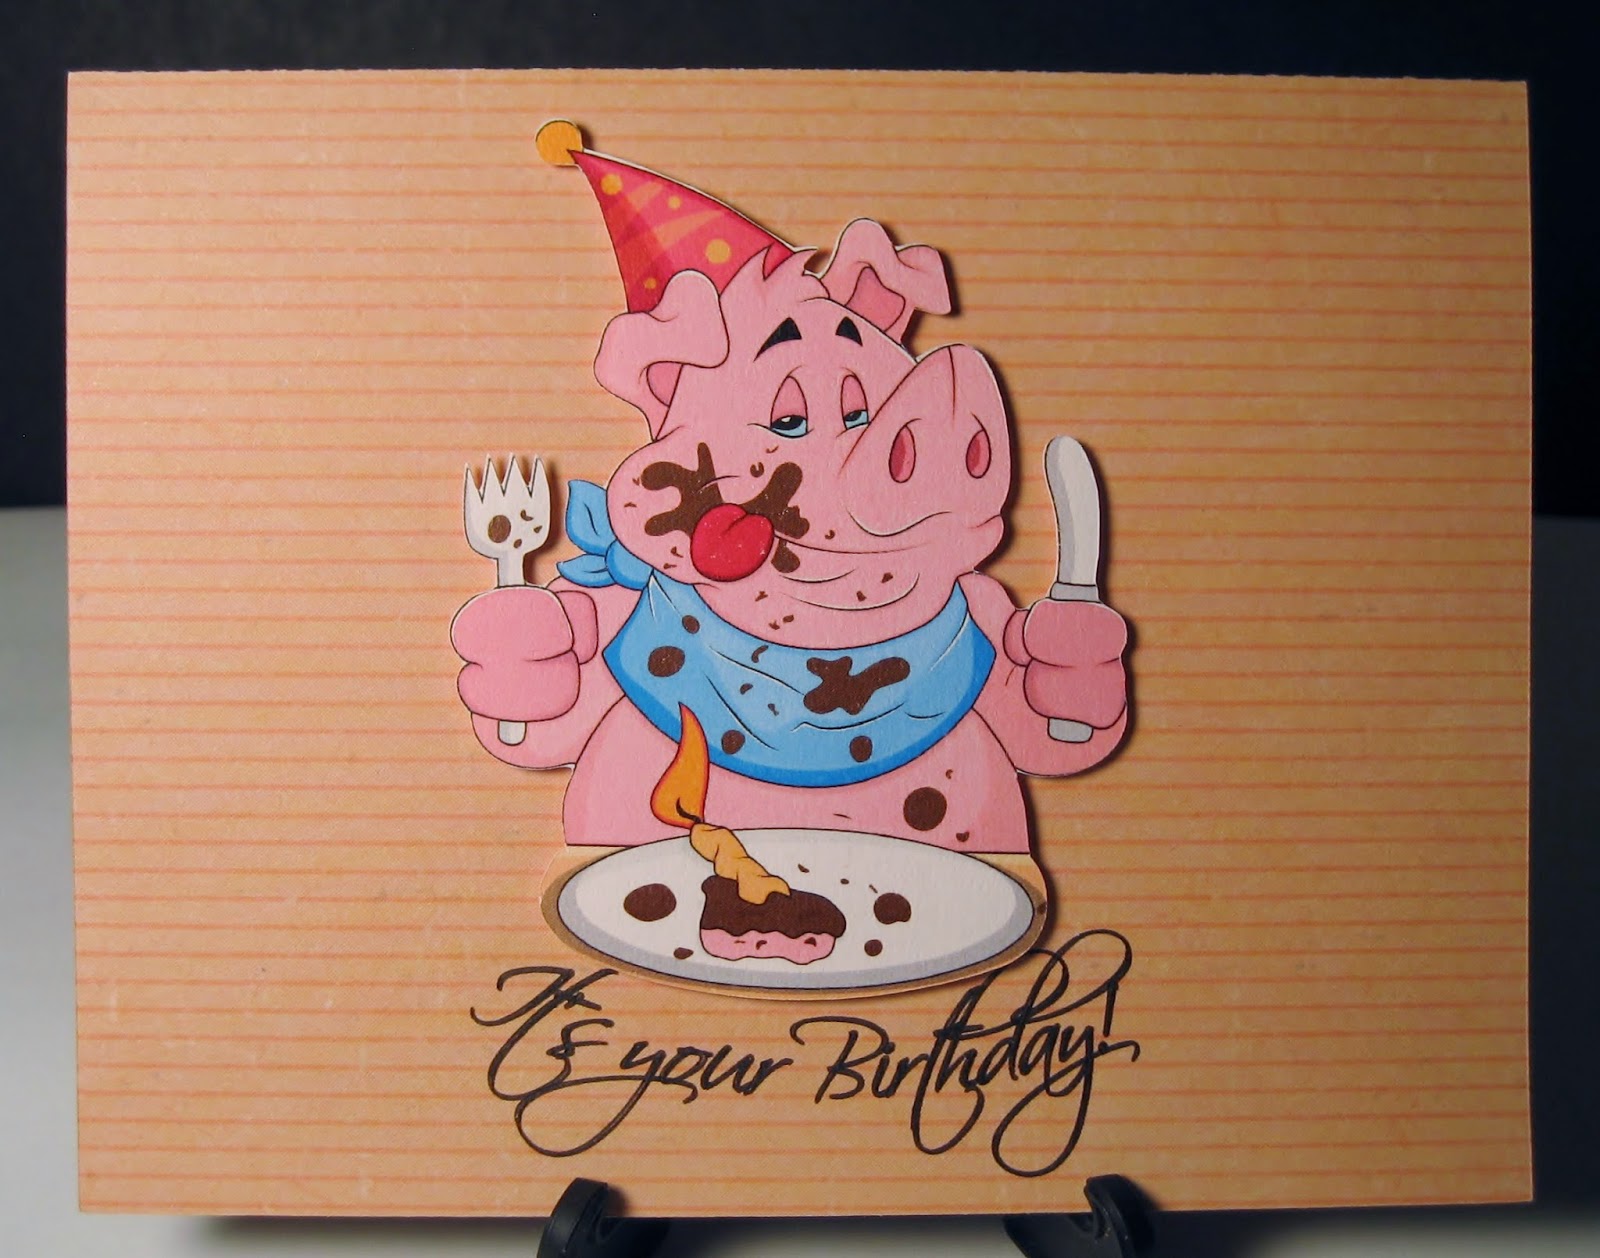
Again, "Go hog wild" was probably expected.  Don't you wish you really could just dive into your birthday cake and make a complete mess?

So it's no surprise that this one says "Put on your game face and have a ball!"

A little less common - Happy Brrrr-thday! 

Inside Verse:  One of the nicest, wisest people I know, that's whoooo!  I think Kathy caught all the stereotypes for an owl on this one!

 
This smiling little snail is perfect for a belated card since he's so slow!

And not really a pun, but just for fun!

 
You know, we all groan at puns, but we all know them!  I think we need a revival of good puns - a little humor never hurt anyone!

Sunday, July 20, 2014

My Version of Print & Cut

I've been doing a lot of Print & Cut lately and I've refined my process so that it's nearly foolproof!  Here's how I do it:

First, find some clipart you want to use.  I needed a teddy bear for my Baby Card.  So I found a free clipart file and copied it from the web.  Then I pasted it into a Pazzles Inspiration file. 

 
I clicked on the AutoTrace button and selected the tool Detect Intensity and clicked on the image.  When the pop up window showed up, I moved the slider bar until I got nearly a solid black image in the After window.  That gives me a great outline to use for Print & Cut and I change the line color to red.  I usually have to do a little clean-up, the first step being Shape > Advanced Path Option > Change to Bezier curves and segments.  The AutoTrace delivers a choppy line.  You can see how choppy it is around the top of teddy's head above. 
  
 Here comes the foolproof part!

 
Above, I have 2 teddy bears (one for the boy card, the other for the girl card).  I match up the red outline (that I created with AutoTrace described above) with the clipart, then draw a blue box around each.  Then I copy it below itself and change the box line color to green.  In the upper box, I delete the red Print & Cut outline and in the bottom box I delete the image.  One other tip I've learned the hard way - thicken the blue box line around the image.  Then I send it to the printer.  I cut out the image with my craft knife on the blue box line - which since I thickened I can now see!  After putting it on my mat, I open the Cut Control Panel and I cut out the green box and leave the mat in the machine!  Remove the green box paper off the mat and replace it with the blue box image that was cut out by hand.   Then, in the Cut Control Panel, I cut the red outline.  It comes out perfect every time!
 
 
See how cute he turned out?  I've been doing a lot of Print & Cut lately and this method is so easy.  I've tried a couple different ways and had varying success.  I never have to worry about losing a part of my clipart because it doesn't match up exactly.  It seems like a lot of steps once I've written them all out, but after doing it twice, I think anyone could repeat this without notes.  Hope you'll try it and let me know!

Sunday, July 13, 2014

Free Downloads for 7 Days!

I received an email from a papercraft magazine about an image warehouse offering 7 days of free downloads!  I signed up immediately!  Yes, it means that if you forget, you'll be charged, but just don't forget if you don't want to pay for it.  GraphicStock has some amazing stuff - jpgs for backgrounds and clipart, eps for cutting files and pen drawings, and great images!

Here are some jpgs I used this weekend:

I'd forgotten about this cute saying (baffle them with bull!), so when I found it again, I went looking for a bull.  Isn't he cute?

I've had this saying designed for a bit, but never made the card because I didn't like the design.  Finding this hilly background worked perfectly!

I designed this card around the cat - so adorable!  I used 3 images as background and did a Print & Cut on the center one.

And this card previously had leaves hanging at the top - OK, but not great.  Now I really like this card.

And these flowers really pop off this card!  Talk about a simple card to make.

And there's tons of doodles - I used this one as paper.  I have downloaded more and we'll see what I come up with for those.
 
For a custom order, I needed a silhouette of a golden retriever.  Guess where I found it?  I downloaded it as an eps file and did minor cleanup and had my black silhouette in no time.

I could have used this file as a background, but I wanted to play with the colors.  So I cut it out instead.  Makes a great manly birthday card.

This one is a combo of cutting file and pen drawing.  I left all the pieces of the rope for the pen and created an outline around it.  The anchor and stripes imported directly into my Pazzles.

Since this started life as a black and white illustration, I used my pen tool so I could color it.  I love the way it turned out.
 
All the other elements were made with my Pazzles Inspiration, which is just a joy to work with.

Wednesday, July 9, 2014

Smile!

 
Doesn't this card just make you want to smile?  The smile itself came from the Pazzles Library - wonderful resource for crafty people.  Cutting out the smile was a breeze after downloading it, then a little pen tool work and voila!  A card is made.  The inside says "Thank You".  Well, thank you, Pazzles for all the great files in the craftroom!

Sunday, July 6, 2014

Something New - Printed Backgrounds

Designing a card takes a lot of planning - what elements will be included, where will they go, what paper will be used, will there be any popped pieces, etc, etc, etc!  Pazzles makes all this fairly easy with their Library of images and the software allows you to set up a card exactly as it will look cut.  But since I just signed up with GraphicStock, I've found a lot of backgrounds that are really cute and I decided to see if I could use them in place of all the other pieces that go on a card.  Here's what I mean:

 
Instead of cutting out grass, flowers, sun and clouds I found this background.  I still did the baby and carriage in the usual print & cut method and I put the background in the Pazzles Inspiration to get the text on it.  This card was put together quickly!

 
And here I could have done print & cut on the turtle but then I'd be left with the need to fill the rest of the space.  Very easy to just plop the background in the machine for the text!
 
I think I'll be doing more of this type - maybe next time it won't be a cute or funny card!