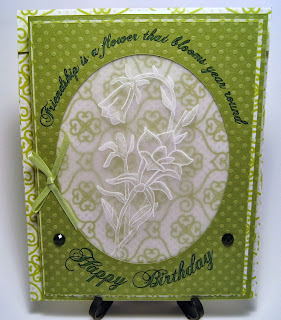
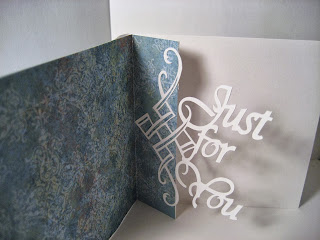
Another new card technique I discovered online is Pergamano Parchment craft. There are some absolutely amazing artists out there and this type of art has been around for a long time. I decided to try my hand at it. I bought a little starter kit, practiced a little and jumped right in. Here are some examples of my cards:
This was my first parchment card. The parchment is worked on both sides. The front has the design drawn in white pen or ink and the back is embossed and shaded with a ball point tool. Everything in this card was done by hand, since I was following the starter kit. But, I figured, there had to be a way to make life easier with my Pazzles - that's what it does, after all!
So I popped my white gel pen into my PI and whipped out my embossing mat and after several tries, got the pressure set. All the rest of these were done with that method.
I also tried putting the embossing tool in the pen tool and while it worked, it looked like a machine had produced it. I didn't like the effect at all. So I stuck with doing the embossing by hand - it's fun anyway to see the design take shape under my fingers.
The trickiest part of making cards with the parchment is planning for attachment to the card base! It will not hold glue at all. The above examples are called white parchment, for obvious reasons. I started playing with color and found that Sharpie markers on the back of the parchment created a very soft muted color and I was happier with the colored versions:
I will warn anyone wanting to try this technique that real Pergamano parchment is VERY expensive! I hoard the few sheets I have left and try to get as many pieces out of it as I can. As with all the techniques I've tried so far, I'll get back to this someday. There's always something new to try, though, and I love to learn new techniques, new methods and new tools. Next up will be some chalkboard art for Halloween!


