Showing posts with label Pazzles Craftroom. Show all posts

Saturday, September 6, 2014

Still Seeing Flowers!

 
It may be the end of summer, but I'm still seeing flowers.  This week I spent TV time making paper flowers.  Unfortunately, I only know 2 methods without my cutter, but I sure do love them.
Here are some of the flowers I made. 
 
 
The ruffles flowers are 6 layers of small circles.  Poke a hole in the center of the stack of circles and push a brad through.  Then start crumpling the paper around the brad, layer by layer.  When all the layers are crumpled, loosen the layers with your thumbs and stop when you like the shape.  The others are a strip of paper cut perpendicular to the length, then snipped almost to the edge.  Roll around and glue every once in a while and glue the end.  They make a nice splash on the card.
 

This lotus is cut on the Pazzles Inspiration.  Two flower shapes are layered and the edges inked.  A small circle is clipped to create a fringe in the center.  Then I added a small pearl.
 

These flowers are similar to the lotus flower, just a slightly different shape.  Again, 2 layers of petals and a pearl in the center. 
 
 
To get the flat paper to take a curl, I followed the video on the Pazzles Craftroom.  Using a foam pad or an old, soft mouse pad, and a ballpoint embossing tool, rub the petals in small circles on the pad.  In a short time, the paper will curl right up.
 
If you know of other ways to make paper flowers, leave me a comment.  I always love to learn new things.  Thank you!

Sunday, February 23, 2014

Revisiting Some Old Cards

Sometimes, I like a card so much that once it sells, I want to make it again.  And sometimes, I don't like it enough that I want to re-do it.  This weekend was spent making lots of old designs.
 
I keep looking for ways to use the embossed foils - here's another example.  The original card was portrait and I felt that if I turned it landscape, it would leave more room to the left of the sentiment and balance the card better.  Below is the original card:


The first time I created this card I didn't like it.  So I changed it!  A lot!

Below is the original card.  The colors just didn't pop, the scallop was too large, the font was too wishy-washy, the flowers too simple, the leaves too pale.  I really like the orange and green color scheme of the new card.  I'd love to see a section in the Pazzles Craftroom where we can get advise from the pros on how to make a better design, but have it be a forum as well.  I haven't taken advantage yet of the Designer Chat - hard to do when I craft on the weekends.


And this is one of my favorite designs.
 
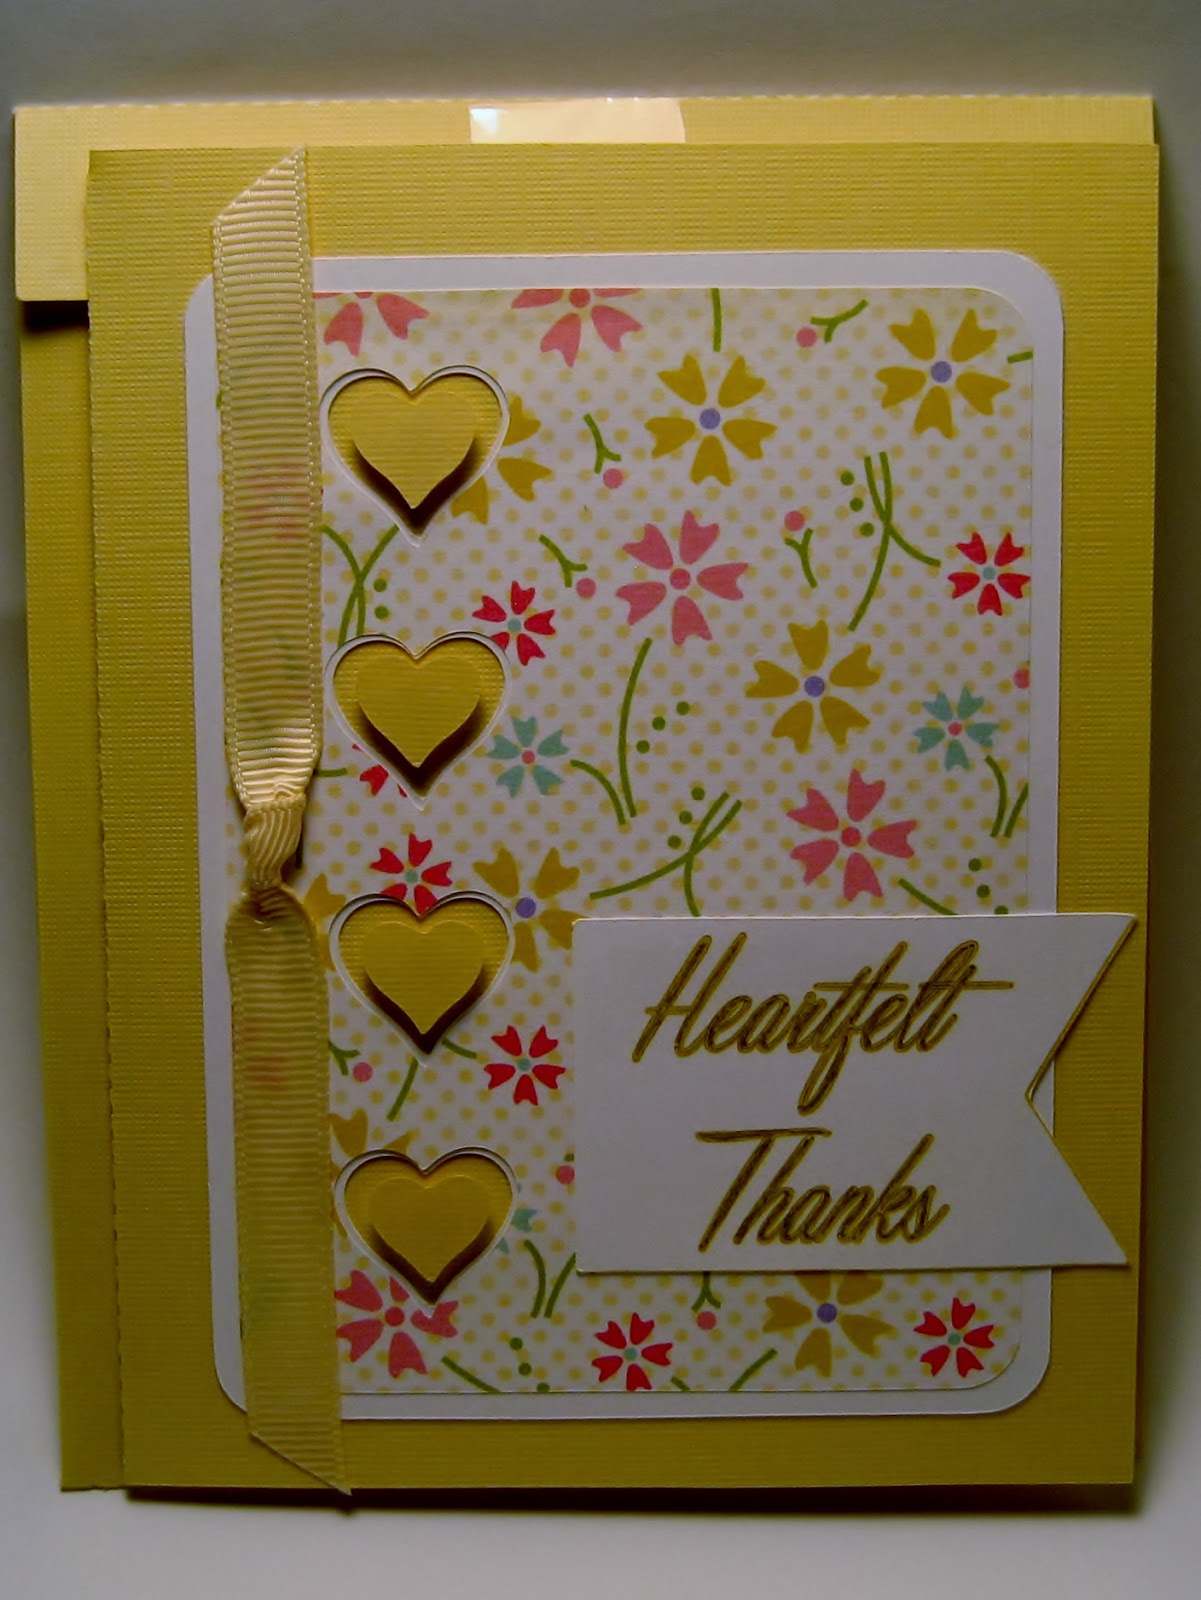
 The first card I made actually got sold before I took a picture of it.  Here's the second one:
I must have something against yellow - you'll seldom find a card of mine that is mostly yellow!  I might still need to redesign this card so there is room for the ribbon on the left.  I didn't include a ribbon on the new card except on the left side of the tag - I like the rounded corners to show.
 
Please leave me a message if you have any suggestions for creative designs or just a critique of these cards.  Thanks!

Tuesday, November 19, 2013

Layered Landscapes Tutorial

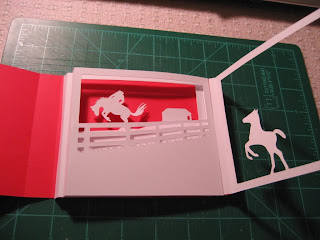
There still seems to be interest in how to assemble my Layered Landscape cards, so here's the tutorial.  I'm using the Colt Landscape card as the example.  Several of my Landscapes are available in the Cutting Files to members of the Pazzles Craftroom, including the sailboat, mountain lion, owl, deer, creek, bear, wolf and duck. 


These cards all have several things in common.  There are 4 pieces, not including the envelope.  The colored card base is 11 inches wide by 5-1/2 inches tall.  And the base are 3 kiss cut lines at 4.75 inches, 5.5 inches and 10.25 inches, measuring from the left side. 
The other 3 pieces are the layers, called panels - front, middle and back.  In this example, the rearing colt is the front panel, the fence is the middle panel and the cowboy riding the bucking bronco and the barn are in the back panel.  Each panel is 5.25 inches wide by 4.25 inches tall.  There is a kiss cut line on both sides of the panel 1/4 inch from the edge.
 
 
The back panel is attached first. 


The 1/4 inch edge on the right side of the panel is glued to the card base so that the farthest right edge is aligned on the second kiss cut line of the card base.  Note that the picture shows the reverse of the back panel.
Fold the back panel along the kiss cut line and lay it flat to the card base.  Glue the middle panel so the farthest right edge abuts the back panel.

Fold the middle panel along the kiss cut line and lay it flat to the back panel and card base.  Glue the front panel to the edge remaining, aligning the kiss cut line to the outer right edge of the card base. 
Now it's time to secure the left side of each panel to the card base.  Pick up all the panels and fold the card base at the kiss cut line on the farthest right side.  This will align the left side of the panels for gluing.  Fold the kiss cut line on the left side of the back panel to form a right angle.  It's easier to do this next part upside down.  Glue the back panel to the card base aligning the far left side of panel to the kiss cut line on the card base. 
Repeat gluing the left edges of the middle and front panel to the card base, aligning the edges right next to the previous layer's kiss cut line.  The panels should look like the above picture when done.  To get the 3D effect, pull on the right piece of the card base.
Here's the view from above.  You can see that each panel is 1/4 inch apart.  And yet, when closed, the card is flat and fits in a standard envelope, perfect for mailing.  I hope you'll give it a try!  Next I'll show how to create the panels in the Pazzles Inspiration software.